
By Paige Turner
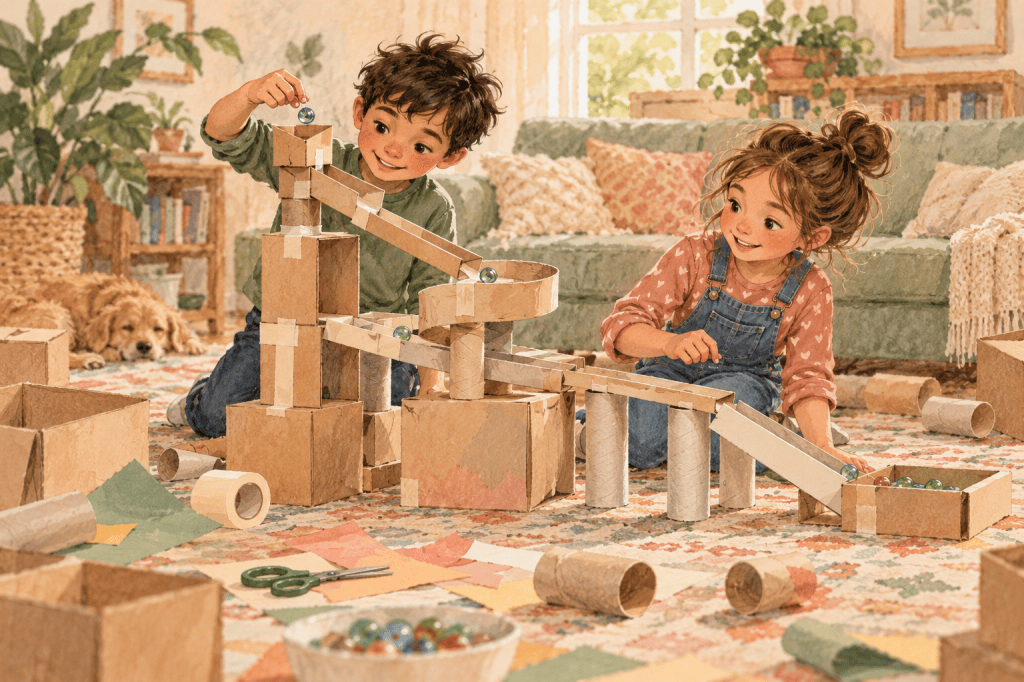
Cardboard invites big ideas without requiring expensive materials. A cereal box can become a bridge, a tube can become a marble track, and a shipping box can become the base of a machine. The most valuable part is not the finished structure. It is the cycle of defining a problem, building a possible solution, testing it, and changing the design based on what happened.
That cycle is engineering. Children do not need an adult-designed model to copy. They need a clear challenge, useful materials, safety boundaries, and permission to revise.
Choose One Testable Challenge
An open prompt such as “make anything” supports creativity, but a constraint creates a reason to test. Try one of these:
- Build a bridge that spans 12 inches and holds ten small books.
- Create a marble run that keeps a marble moving for five seconds.
- Build a tower at least 24 inches tall that stands for one minute.
- Make a container that protects a cotton ball during a short drop.
- Create a ramp system that delivers a toy car to a target.
- Build a freestanding shelter for a small toy animal.
State the goal, materials, and safety limits. Avoid showing a finished example, which can quietly turn invention into imitation.
Gather a Focused Material Set
- clean corrugated cardboard and thin food boxes;
- paper tubes;
- masking or painter’s tape;
- child-safe scissors;
- ruler or measuring tape;
- string, paper, and craft sticks;
- small test objects; and
- pencils and scrap paper.
An adult should cut thick cardboard with a utility knife away from children. Inspect boxes for staples, sharp edges, food residue, and personal shipping labels.
Limit materials enough that children must make choices. Unlimited tape can hide structural problems and produce a design that cannot be examined or adjusted.
Plan Just Enough
Planning should support building, not delay it indefinitely. Ask children to sketch one side view and label the most important parts. Then ask:
- What must the design do?
- Where might it bend, fall, or slow down?
- Which part will you build first?
- How will you know it works?
Younger children can dictate a plan or arrange materials before drawing. The sketch is a thinking tool, not a contract. Engineers change plans when new information appears.
Teach a Few Joining Techniques
Many cardboard projects fail because pieces are held edge-to-edge with a single strip of tape. Demonstrate techniques, then let children choose.
- Tabs: cut or fold flaps that provide a wider attachment surface.
- Braces: add a diagonal strip to stabilize a corner.
- Slots: cut matching slits so pieces interlock.
- Rolled beams: roll thin cardboard or paper to create a stiff support.
- Layering: glue or tape corrugation in different directions.
- Tape hinges: join pieces so they can move.
Use scrap pieces for practice. A mini joining station can save frustration during the main build.
Test One Requirement at a Time
If the challenge has several requirements, isolate them. A bridge can first be tested for span, then stability, then load. A marble run can be tested section by section before the full route is assembled.
Create a simple test record:
- What did we test?
- What happened?
- Where did the design change shape or stop working?
- What will we change?
- What happened after the change?
Children may draw the failure point or place a sticky note on the structure. Failure becomes specific information rather than a judgment about the builder.
Ask Questions Without Designing It for Them
When a child says, “It keeps falling,” avoid immediately adding the brace yourself. Ask:
- Which part moves first?
- What could make the base wider?
- Where could a support go?
- What do you notice when you press here?
- Could we test a small piece before changing the whole thing?
If the child is truly stuck, model a technique on unrelated scrap rather than fixing the project. This preserves ownership while providing needed knowledge.
Add Mathematics Naturally
Measurement should serve the design.
- Measure the required span or height.
- Compare the length of two ramps.
- Count how many test objects the structure holds.
- Time a marble or car.
- Create equal supports.
- Record test results in a table.
- Calculate the difference between the target and actual measurement.
Do not interrupt every building decision with a math question. Choose measurements that affect whether the design meets its goal.
Make Collaboration Work
For pairs or small groups, assign rotating responsibilities rather than permanent jobs:
- material manager;
- builder;
- tester;
- recorder; and
- safety checker.
Pause midway so roles change. Ask each child to explain one idea contributed by someone else. If disagreement stalls the build, test both ideas on small prototypes instead of asking the adult to choose a winner.
Adapt the Challenge
Younger builders
Use larger materials, shorter time periods, and one requirement. Precut difficult pieces. Let children test with light objects and record through photos or drawings.
Older elementary builders
Add a material budget, multiple criteria, or a redesign requirement. Ask for measured evidence and a short explanation of tradeoffs.
Children who need reduced motor demand
Provide prepared tabs, easy-tear tape pieces, clips, or a partner who cuts according to the child’s directions. A child can lead planning and testing without completing every physical action.
End With a Design Review
Do not rank projects only by tallest, strongest, or fastest. Invite each builder to share:
- the goal;
- one design choice;
- one test that did not go as expected;
- one revision; and
- what they would change with more time.
Photograph the first and final versions when possible. The contrast makes iteration visible.
Add a Second Constraint Only After Success
Once a structure meets the first requirement, introduce one thoughtful change. The bridge must now use less tape. The marble run must include a turn. The tower must hold a paper flag. The shelter must keep a tissue dry during a light spray test.
Ask children to predict which part of the current design the new condition will affect. This creates a reason to plan a revision rather than begin randomly. It also introduces tradeoffs: making a tower taller may reduce stability, while strengthening a bridge may add weight.
Do not keep adding constraints until every design fails. One extension is enough to show that engineering problems can have several criteria.
Document the Process, Not Just the Product
Use three photographs: the plan or first arrangement, the first test, and the revised design. Add a one-sentence caption to each. Younger children can dictate; older children can include measurements and arrows.
A simple design page can ask: “Our goal,” “What happened in the test,” “What we changed,” and “What happened next.” Provide a large sketch area. The record should help a child explain decisions, not become a writing assignment that overshadows building.
Store or Disassemble Thoughtfully
Decide before building how long projects may remain. Give children a display period, photograph the work, save any reusable pieces, and recycle clean cardboard according to local guidelines. Taking a structure apart is not erasing the learning.
Cardboard engineering gives children an unusual combination: freedom to imagine and evidence that pushes back. The bridge either holds the load or it bends. The marble either reaches the end or it stops. Within that honest feedback, children learn to observe closely, change a plan, and try again with more information than they had before.
Sources & Further Reading
- U.S. Department of Education: YOU Belong in STEM
- UNESCO: STEM Education
- National Science Teaching Association

